Monday 31 July 2017

Champagne Spot


Last year I visited Veuve Clicquot and saw this poster on the wall.  I loved the retro shape of the dress and the net skirt underneath that added a little bit of fun.


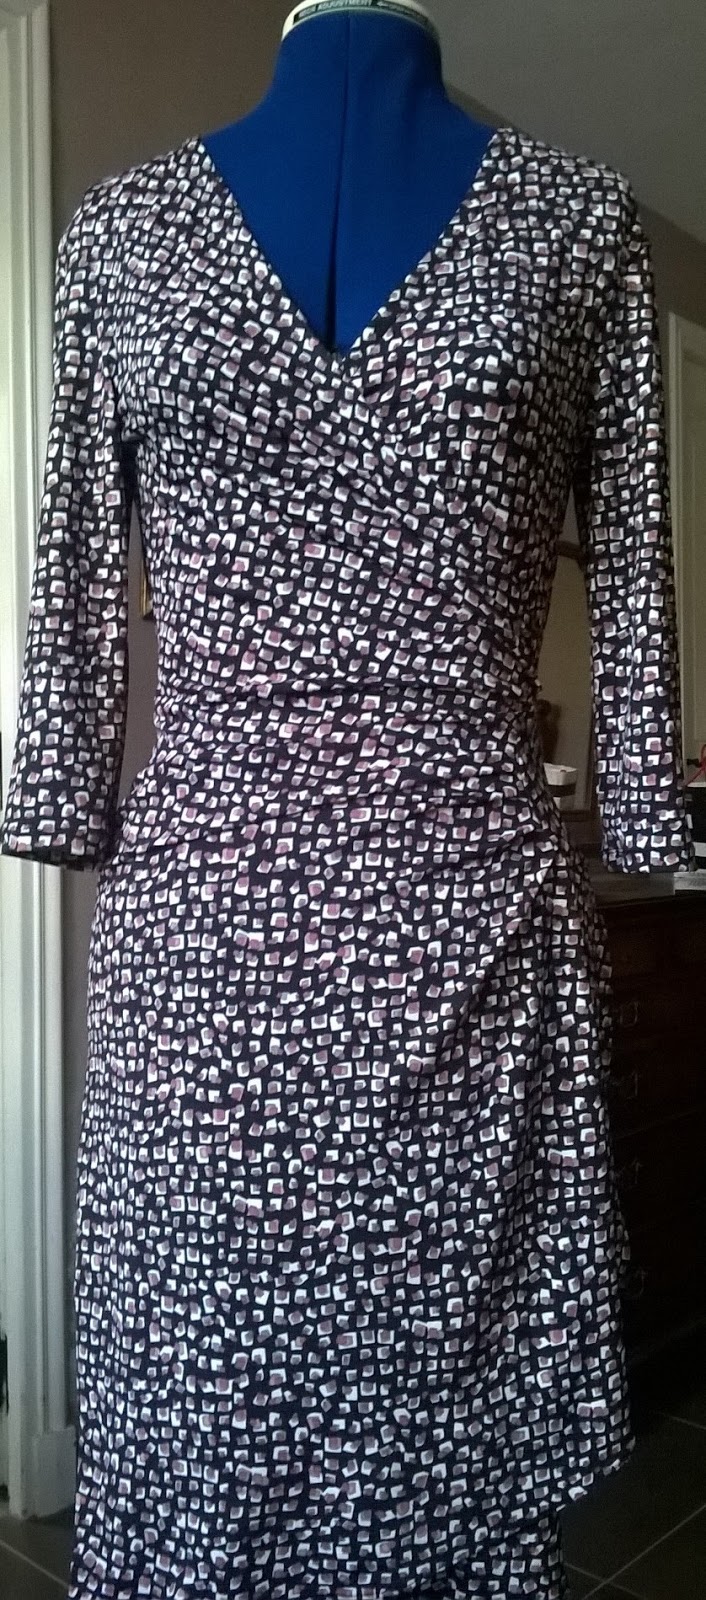
So I decided I make myself one for a future occasion...  As usual, I found some nice cotton stretch material on Fabricgodmother.   As I am somewhat older (and a little larger) than the model in the original, I thought a slightly longer skirt length was more appropriate.  I also wanted the back to be high enough not to show any hint of bra straps (always unattractive and unnecessary).


I used black netting underneath and in the end decided I didn't want it to show but just to give some extra fullness to the skirt.  I got the net from tissus.net who have a huge selection of fabrics and haberdashery.

With hindsight, the spots were an added complication as I tried to match them but failed. Having said that I don't think it matters too much in the end.


I've already worn this a couple of times (once to a wedding when it was stuffed into a bag whilst I finished the flowers for the reception and church - it came out beautifully without a crease! - pics of the wedding flowers to follow at some point).  

I can see myself wearing this for several years to come as the shape is not going to go out of fashion just yet!


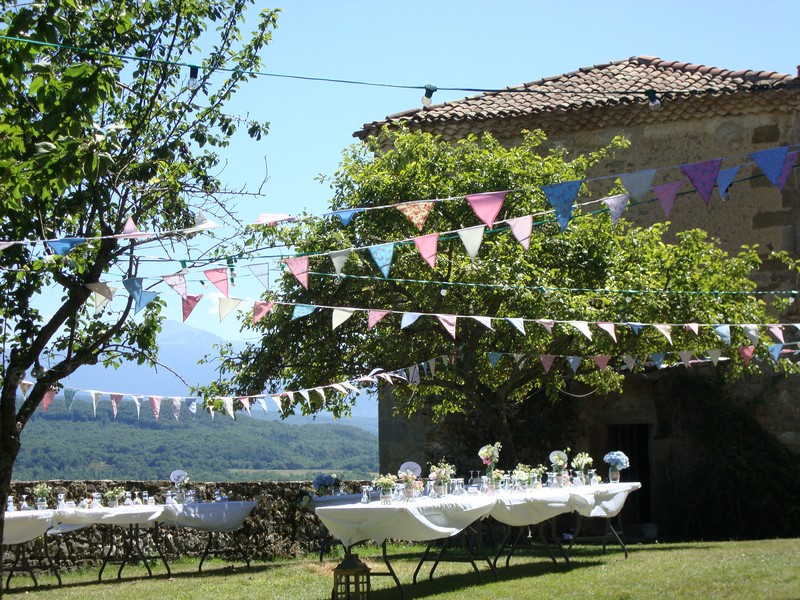
(Believe it or not these photos were taking in early March - it looks warmer than it was!)

Friday 4 November 2016

Wedding season

About this time last year a lady came into the restaurant where I waitress to ask about catering for her daughter's wedding.   I mentioned, slightly tongue in cheek that I might be able to do the flowers.

Much to my surprise her daughter, Fabienne, contacted me some weeks later and asked if I could quote for the flowers for her big day.   We met a couple of times to discuss details and low and behold I found myself at Toulouse flower market one Thursday morning at 5.30 am choosing blooms in pastel shades.

In fact, Fabienne and Edd were to have two wedding days... the official paperwork related bit at the Mairie (registry) on the Thursday and then the big romantic day on the Saturday.  For the Mairie they only wanted some gypsophilia in little buckets and a small bouquet, so very easy.


For the Saturday, however, there were alsorts of things to test the skills of a novice florist: buttonholes and corsages, flower combs, bouquets galore and even a ring made of flowers.

The location for the big day was a hilltop castle near Mirepoix, with amazing views of the surrounding countryside.   The sun was shining, but, as is often the case in this part of France, the day turned out to be rather windy (enough to blow over the table decorations and upturn the chairs).


Thankfully, the bride was running late as it took me much longer than anticipated to get everything done but in the end, I was happy with the final result.   More importantly, so were the bride and groom who sent me a lovey thank you message a couple of days later.


Fabienne and Edd


Bridesmaids


With hindsight, I should have cut the stems on the bouquets a bit shorter.  I had left them long on purpose so as to keep them in water until the last minute due to the heat.  It also helped them stand up whilst waiting for the bride to come up the hill to the castle! 


Bouquets


Flower comb and ring


Table decorations


More table decorations


Sunday 10 July 2016

The Martine Wrap Dress

A few months ago my friend Martine asked me to copy a dress for her.  It was a stretch jersey wrap dress... nothing very complicated she assured me, but a flattering style and very easy to wear.   Martine travels a lot for her job so she wanted something that was easy to pack, light weight and comfortable.   She said that this dress was perfect and wanted a couple more.

So with her original dress in hand I set about to copy the pattern.  

There are only 4 pattern pieces (front left, front right, back and the little D shaped insert which you cut twice) plus a couple of lengths of bias binding to finish the neckline and sleeves.

The cross over front and pleating around the waist line makes this a very flattering dress on almost any body shape.  A stretch fabric is ideal but one that has some body and drape to it.  

The right front hem curves up to join into the D shaped insert. The fixed cross-over means that there are no ties to come undone or add bulk.   


This first dress was made in a slightly softer jersey that draped well but had less stretch.


For the second dress, I added  3/4 length sleeves... These could quite easily be full length for winter wear.


Dress N°3 - back to sleeveless.  There was to be a N°4, which in the end turned into a top as the fabric didn't have enough elasticity.

Having made all these versions for Martine, I just had to have one for myself... so here is my very own "Martine Wrap Dress" made in a stretch jersey cotton.   I've already worn it several times and think I will almost certainly make myself a winter version with full length sleeves. 


Saturday 9 April 2016

Summer Season 2016

Red is in for summer 2016!  And no I don't mean skin-colour after too much sun.   Apparently it is the hot colour for the summer season and not just a splash here and there but head to toe.  And preferably scarlet.


According to the March edition of Elle Magazine that I saw on my most recent visit to the dentist, the Paris catwalks were awash with red.   To break it all up they recommend black footwear but the idea is to be bold and bright.

This is good news for me as I made myself a very bright and bold red dress last summer and have yet to wear it.


I love this dress... it feels very girly and easy to wear but boy was it difficult to make!!   I had  seen a similar pattern on Great British Sewing Bee for a vintage 1950s dress called the Walkaway.   A wrap-type dress that could be made in morning to be worn the same day... yeah right.   The wrap works the other way on this dress (the front layer wrapping round to the back to fasten).  Simple yet elegant.


What I hadn't counted on though was the fact that 1950s women were shaped quite differently (or at least their underwear made them a different shape).  I'm not particularly small breasted (32DD) but I really had to fiddle with the bust area to stop it gaping horribly at the sides.    In the end I decided to fasten it with buttons, instead of a tie, just to make sure it held in place.


I'm still not entirely happy with the way it falls at the waist so have unpicked the lining (I added this as it was unlined but my fabric was quite thin so needed something).   I will also probably move the button loops slightly as it gapes too much between them.


As soon as this is done,  I shall look forward to having an opportunity to wear the "in" colour this summer.   I haven't got any black shoes that would go but I think my baby pink Swedish Hasbeens work perfectly.


Saturday 2 April 2016

Grainline Studio Scout Tee

I covet fabric and patterns like other people covet shoes and handbags. I'm not saying I don't like shoes and handbags but I don't lie awake at night wondering what to do with them.   Which is not the case with fabrics and patterns!   Sometimes I see the pattern first and then find the right fabric to go with it, sometimes I already have the fabric stashed away waiting for the right pattern.

The Grainline Studio Scout Tee is one of those patterns.   


Scout Tee PatternScout Tee

It's a very simple looking woven top, aimed at the novice seamstress.  But that is the beauty of it.   Simple to make and simple yet stylish to wear.   Plus, by my reckoning very easy to modify slightly to make a completely different looking top.

So, with pattern duly purchased from my favourite on-line fabric shop, Fabricgodmother (www.fabricgodmother.co.uk), I set about to make one with some fabric from my stash.

Years ago I used to work near Liberty and often spent my lunch break rummaging in the off-cut bins.   I had this piece of silver (!) silky fabric since those days and I thought it would be perfect.  However, I wanted to use as much of the fabric as possible so decided to lengthen the sleeves.  


Making the sleeves longer was quite easy... sewing the neck band with slippery fabric wasn't!  It took me three goes to get it just right.  The finished top will definitely get some wear as it will look great with a pair of skinny black jeans and heels.

I really wanted to see how quickly I could make the Scout Tee in an easier fabric. So this time I used a remnant floral cotton purchased from Fabricgodmother.   But, I just had to modify the pattern again so added some pleats to the neckline.


I'm really pleased with this version too so I think there will be many more variations on the Scout Tee in the not too distant future.


Saturday 6 February 2016

Revamped coat

I signed up for a couple of Craftsy classes in the last few weeks, mainly on alterations.   Angela Wolf, the teacher, is great - she explains everything really well and her tips and hints have been very helpful.

One of the classes is devoted to altering jackets.  Is a coat that much different I thought?

I've had this coat for years.   I remember wearing it when I was 8 months pregnant with my first son and he turned 15 at Christmas.   It's been sat in my wardrobe ever since we moved to France so I thought why not take the plunge and do something with it.

It's hard to believe but this is a UK size 10!  It's enormous but I think this was just the fashion at the time.


How wide are those shoulders!!!


I needed to make the shoulders narrower and to take it in at the sides.  Plus it really was a bit too long... far to easy to trip over the bottom.  

I took off the sleeves first and altered the side and back seams to make it fit better.   Then I had to take in the two sleeve seams as well so that the sleeve cap would fit back in place.   Once this was done, making the shoulders smaller and reattaching the sleeves wasn't too difficult.  

The intermediate stage was a bit ridiculous looking though.

The finished coat is much nicer and I've actually worn it quite a lot in the last couple of weeks.   It's still big enough to wear with a jumper underneath which is what I wanted but at least it looks like it is the right size.


Sunday 8 November 2015

Dr Who

I have three boys, the youngest of whom, Oliver, turned 11 today.  

Having been a bit of a tomboy as a child (not liking dolls, always wanting a train set and a Scalextric track), I am very happy to have boys.  Yes they can be messy and noisy (or grumpy and sullen now that they are in their teens) but they can also be very loving, great fun and have the ability to make you laugh more often than they make you cry!

One of the other brilliant thing about my boys is they love lots of the same things as me, especially when it comes to films and TV.  We all love Star Wars, Star Trek, Bond films and anything Marvel or DC. And they also love Dr Who.   Ever since it came back on the TV we've sat down together to watch the various Drs battle Sontarins, Weeping Angels and of course Daleks.  

So when it comes to birthday cakes there is often a request for something related to their latest favourite film or character.   

This year Oliver requested a Dalek but one that was better than his older brothers from a couple of years back.   That was a Dalek who hadn't realised that he couldn't go down stairs and had landed on his head.


I forgot to bake a rounded cake for the head so added madeleines which ended up being lumpy.  It was also my first attempt at fondant icing ...so all in all a bit of an experiment.

Since then I have made more fondant covered cakes, including a Tardis so I am getting better at it.


This Dalek was made up of 4 sponges... coloured red.

Blue fondant icing made from a recipe from My Cup Cake Addiction using melted marshmallow.  (Very easy, but very sticky!)

 http://mycupcakeaddiction.com


Unfortunately, I opened the oven door too quickly on the fourth cake and it sunk in the middle.   We (Oliver and I) decided to fill it with sweets.

The cakes are stuck together and covered with coffee flavoured butter cream.
So here is the finished Dalek.... we used licorice for all the black decorations and some blue sweets for the bobbly bits.  

It seems a bit of a shame to cut it up but I'm looking forward to tasting it later ....